|
|
 |
 |
 |
|

Installing a Hardware Router into Your LAN.
By: Walter Metcalf
Date: 10/12/00
Last week we continued our series on the hardware
router by examining its benefits in greater detail and by looking at the processing
of setup and installation. This week we complete this short series by finishing
the installation process and then examining the setup changes necessary to incorporate
the router into both an OS/2 and Windows 9x LAN.
E. DHCP Setup
-
DHCP Server Setting DISABLED
-
This means each workstation receives a permanent IP address from Network Administrator
-
Works fine on small LAN's consisting mostly of desktop computers.
-
Click on DHCP Tab and select "Disable".
-
In TCP/IP Notebook for each workstation:
-
Select "Network" tab.
-
Click "Enable Interface"
-
Click "Manually, using"
-
Enter an internal IP unique to your LAN.
-
Fill in the rest of the Notebook with appropriate values.
-
DHCP Server ENABLED
-
Each workstation receives its IP on boot up.
-
LAN with a lot of notebooks;
-
Large LAN; especially if there are more machines than available IP's.
-
Burden of managing IP's is assumed by the Router and is fully automated.
-
Click on DHCP tab and select "Enable".
-
Enter starting (i.e. lowest) IP address.
-
Enter number of users.
-
In TCP/IP Notebook for each workstation:
-
Select "Network Tab" and Click on "Enable Interface"
-
Click "Automatically, using DHCP"
-
Leave "also, using DDNS" blank.
-
Select "Hostnames" tab.
-
Enter the workstation's name in the appropriate window.
-
Leave all the other TCP/IP Notebook entries blank. They are either not required
or will be created by the system.
-
Shutdown and restart the workstation.
-
OS/2 Installation is Complete!
-
Notes on Windows 9x Dynamic IP Configuration
-
Router configuration is OS-indifferent.
-
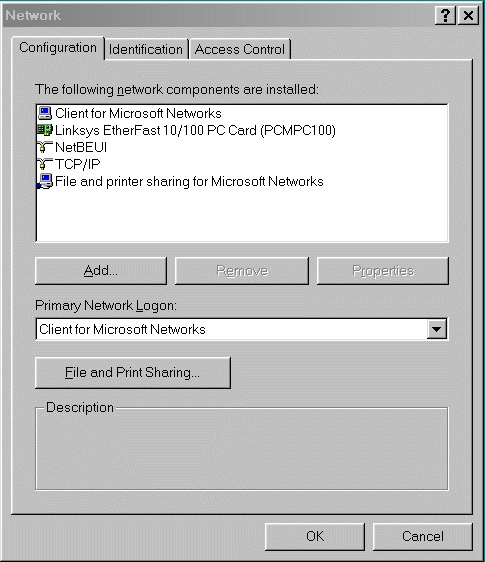
Network Object Configuration Screenshot

-
Network Object Identification Screenshot

-
Network Object IP Addr. Screenshot

-
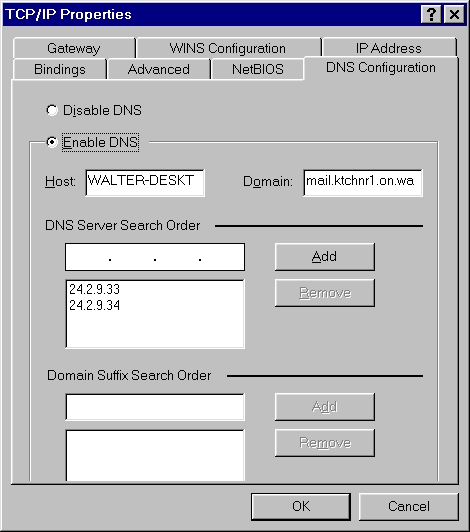
Network Object DNS Screenshot

-
Note that the key differences between the DHCP/Router setup and the setup described
in the article in the main series, Connecting
a Windows Workstation to the LAN is that, although the Computer Name
(i.e. Host Name) is still required, both the IP and the DNS are now disabled. This
is because they are supplied dynamically by the DHCP server built into the LinkSys
router.
F. Web Utility
A critical component of the LinkSys router is the so-called "Web-Utility."
This utility runs on any browser by accessing URL http://192.168.1.1 and supplying the
correct password. The most significant thing about this utility from the OS/2 user's
point of view is that it runs just as well on Netscape for OS/2 as it does on browsers
for the Mac and for Windows, thus giving the OS/2 user equal access to the dozens
of control panels and settings contained in this unusual device.
Since I can not improve on the extensive description and instructions for this
utility contained in the user manual on the manufacturer's site, this "appendix"
to the Setting Up a Peer Network on Warp 4 is now complete.
For Further Reading: Building a Home Network, Part 3: Putting It Together
Part 3 of an excellent series on Windows networking by About Guide Ed Bott. Internetworking - Hubs, Bridges, Routers
Internetworking involves the linking of individual LANs. A collection of articles put together by About Guide Bradley Mitchell.
—Walter Metcalf
Unless otherwise noted, all content on this site is Copyright © 2004, VOICE
|
|
 |
|
 |
|
|